My name is Caitlin and I'm from LA. I'm 18 and attend UC Berkeley, where I am interested in studying business and psychology. Blogging about everything because at this point, I'm pretty undecided...
DIY
http://www.prettyundecided.blogspot.com/search/label/diy
PLACES TO EAT
http://www.prettyundecided.blogspot.com/search/label/cafe
OUTFITS
http://www.prettyundecided.blogspot.com/search/label/ootd
RECIPES
http://www.prettyundecided.blogspot.com/search/label/recipes
BUCKET LISTS AND HAIR DYE - how i got my blue hair

Ever made a bucket list? I'm not going to lie...I used to be a pretty boring person (still not that exciting) but recently I've been making more of an effort to take (safe) risks and to challenge myself to live the most fulfilling, productive life I can live. Now I'm not going to say that making a bucket list has been the quick-fix reason why I stopped spending 4+ hours a day on tumblr, holed up in my room, but it definitely helped.

I love the concept of bucket lists because you can literally include everything from "meet more people" to "bungee jump off a bridge." It can be a way for you to keep track of the thrilling, adrenaline-pumping things you want to do, or a reminder to do the things that will keep you happy and healthy. Either way, your bucket list is all your own, and crossing off those items makes you feel incredible.
So why do I keep babbling on about bucket lists? As you may have already guessed by now, one of my bucket list items was to dye my hair. Why not blue? I mean, go big or go home, ami'right?
Now before I give you a run-through of how I DIY'd my blue hair, here's a disclaimer: I am in no way a trained beautician and only used internet resources to navigate my way through this. That being said, I think I did a fine job and my hair isn't breaking off or falling out, so I think you'll be fine if you follow my instructions.
What you'll need:
- wear old clothes you wouldn't mind ruining
- 2 pairs latex gloves
- plastic hair coloring brush
- plastic or glass container/bowl (to mix bleach) - NOT METAL
- 1 packet hair bleach powder (I used Loreal Quick Blue)- 1 bottle (3-4 oz) developer (I used a level 40 because my hair is dark brown. The lighter your hair, the lower level your developer should be. Ask the employees at your local beauty supply store to help you with this if you're not sure)
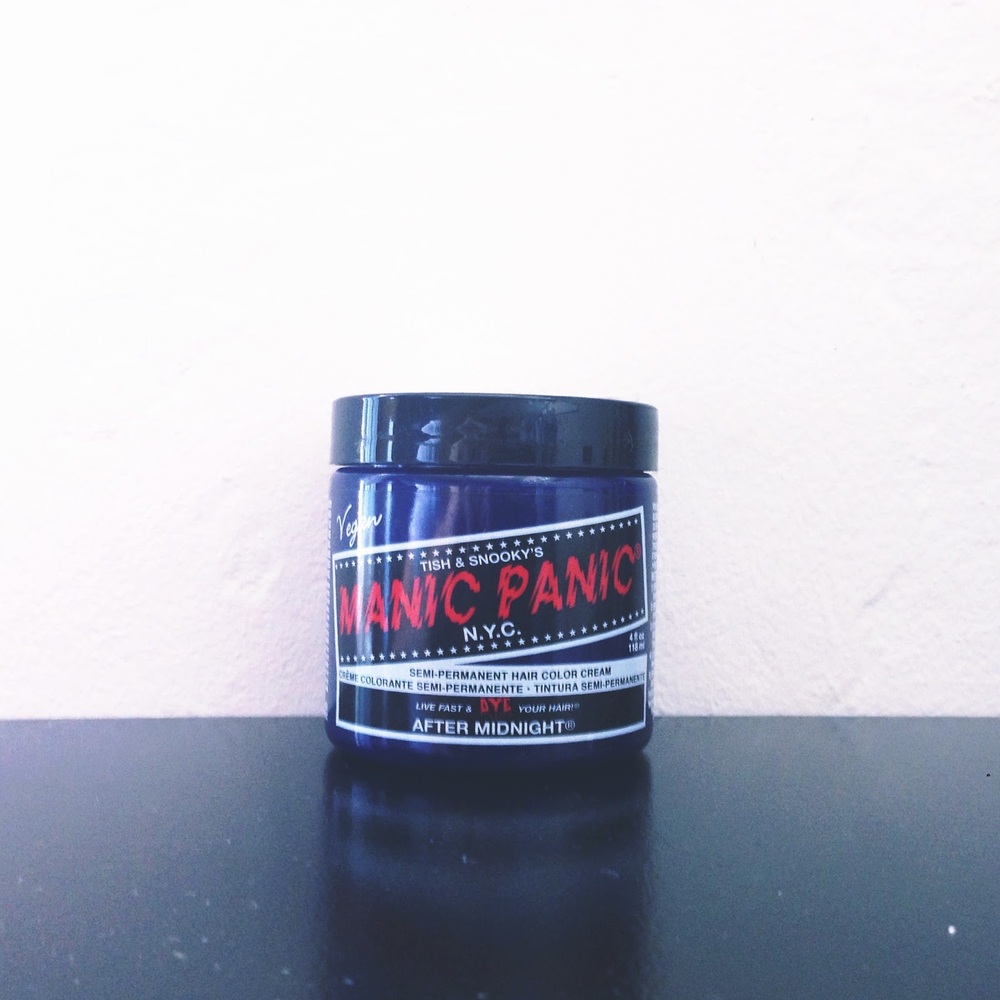
- Manic Panic Hair Dye (I used the "Atlantic Blue" color)
- white vinegar
- white vinegar
STEP ONE - BLEACH:
Make sure your hair is completely dry. Put a pair of gloves on. Using the plastic brush, mix together the bleach powder and enough developer in the plastic container until the mixture is smooth and creamy.

Separate your hair into two sections, one on either side of your face. Pin up one side -- you'll start with the remaining side, which should be separated into two horizontal sections, and then multiple vertical sections within those two horizontal sections. I know this sectioning off sounds complicated, but the whole point of it is so that you apply your bleach evenly and don't end up with random chunks of unbleached hair.

Using the plastic brush, brush the bleach through onto the bottom half of your hair, evenly coating the strands. Wait 10 minutes and check your hair to see how developed it is. If the bleached part is not blonde yet, wait another 5 minutes.
 |
| (The already dyed section is from the strand test I did the day before) |
Keep checking your hair every 5 minutes or so, until it is blonde (I waited until mine was a darker blonde - almost orangey. It doesn't have to be white-blonde). Mine took about 35-40 minutes to develop.
When your hair has developed enough, wash your hair thoroughly with shampoo, then condition. Drain any remaining bleach mixture in the sink, and wash the container and brush.

STEP TWO - DYE:
Make sure your hair is completely dry. Put on the remaining pair of gloves. Separate your hair into sections, the same way you did to bleach it. Add about half of the Manic Panic hair dye into the same container you used for the bleach (the container should be clean now).

Using the same plastic brush, brush generous amounts of the dye onto the bleached parts of your hair. Brush it on somewhat vigorously, until the dye appears foamy - this will help the color stay more vibrant. (It's fine if the dye gets on the non-bleached parts, too. That way, the look will be less rigid - you don't want your hair to be exactly half-dyed, half-natural.)


Leave the dye in for about 30 minutes, then apply more dye (you can do this part more haphazardly), again, brushing until foamy. After applying the additional dye, you can use a hair dryer to heat your hair and get a more vibrant result (I didn't do this, and it still turned out great).

After you've left the dye in for about an hour, rinse your hair over a bathtub or a large sink, first with vinegar, then with COLD water. Do not use shampoo or conditioner. Rinse your hair until the water runs a light shade of blue, then squeeze out as much of the water as possible and put your hair in a bun and leave it tied up until it's completely dry.
 |
| my bathtub post-rinse |
Once your hair is dry, straighten it to retain the vibrant color. And that's it - you're done!


If, after you shampoo your hair for the first time after dyeing it, and you find that the color is too light, you can apply more dye (repeat step 2). However, be aware that this type of dye does fade with every wash.
This dye is semi-permanent, so make sure to take these steps to retain the color for as long as possible:
- always wash your hair with COLD water
- if possible, use a color-safe conditioner, and only wash your hair every other day
And as always, take care of your hair! Bleach damages your hair, so treat yourself to a deep-conditioning hair mask or similar treatment every once in a while.
Changing up your hair every once in a while is a really fun way to switch up your look. I hope you guys enjoy your results :)

What else is on your bucket list?
SAN FRANCISCO - day 1 vlog
New on my YouTube channel! My Day 1 vlog from my trip to the Bay Area:
SAN FRANCISCO - ghiradelli and garages

After two days of orientation at Berkeley, I was free to spend the rest of the week in San Francisco! This is actually my first time up here, so I was so excited to explore the area. Of course, we had to partake in as many tourist-y activities as possible!
 |
| fruit cup for lunch |
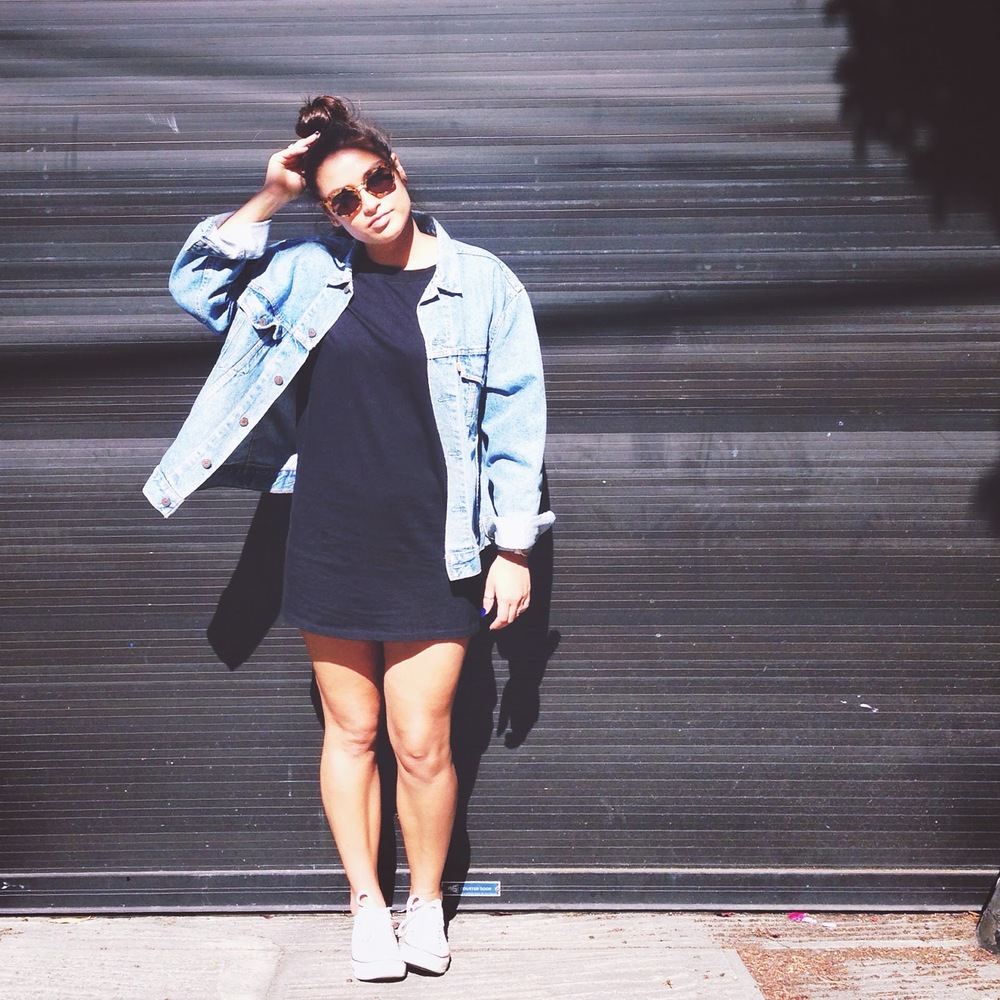

I need to start off by saying that I'm absolutely obsessed with this city for many reasons, but especially because of all the colored garages! As a fashion blogger, I'm always looking for cool backgrounds for my photos. In San Francsico, every single house/apartment/mural is the perfect place to shoot pictures, but I especially loved this black garage, pictured above.
[remember when I told you that I LOVE the color black?]
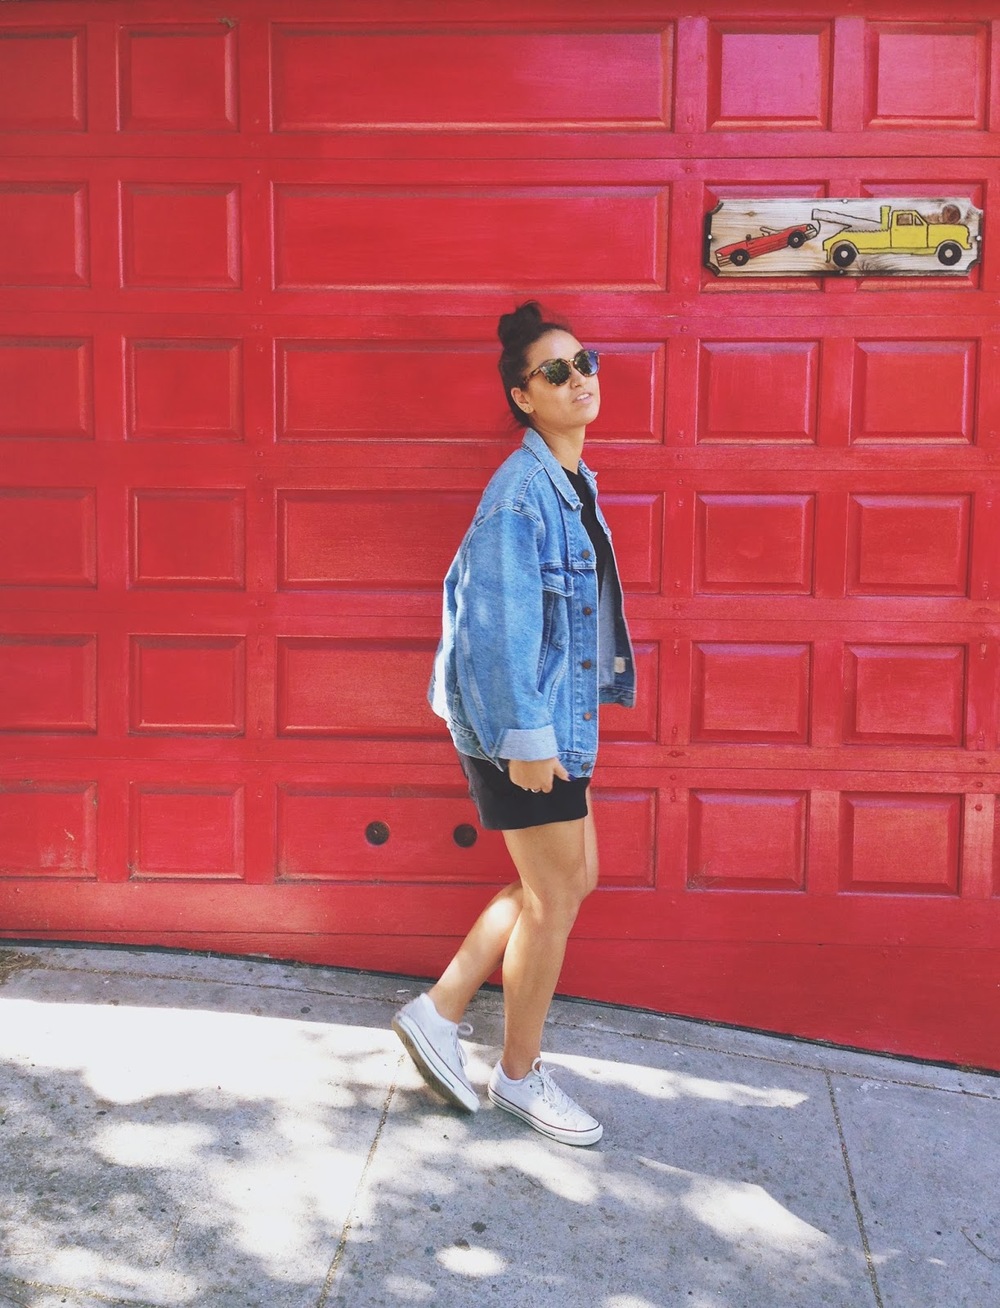
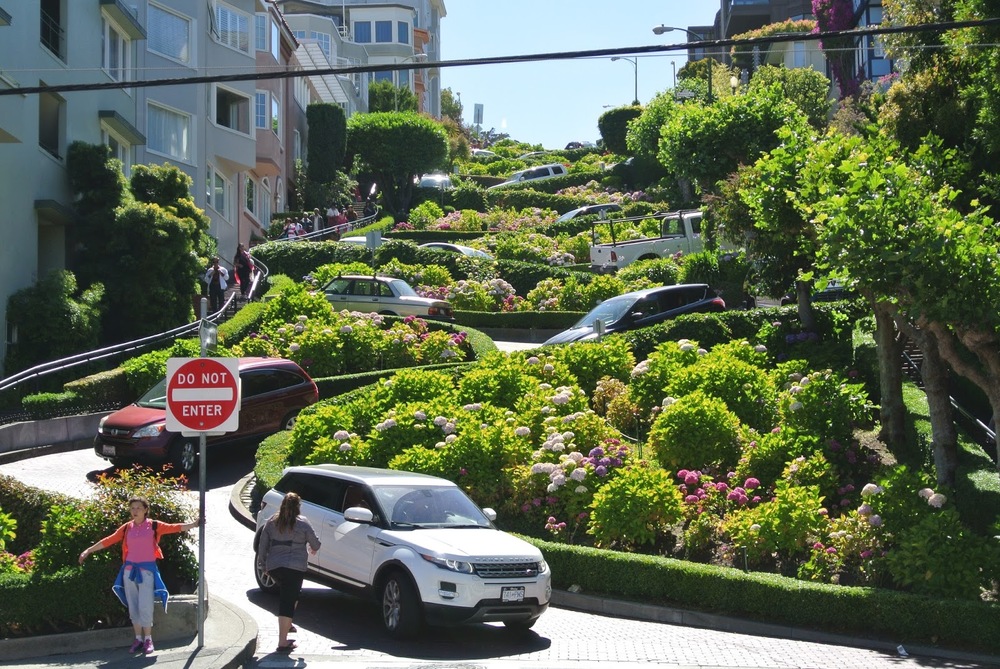
Don't worry though, I made sure to fit some color in with this super cute red garage door I spotted on Lombard Street.

For those of you who don't know, Lombard street is a super cool street in San Francisco famous for its winding, floral path. The street is absolutely beautiful and overlooks the city below, providing a spectacular view.

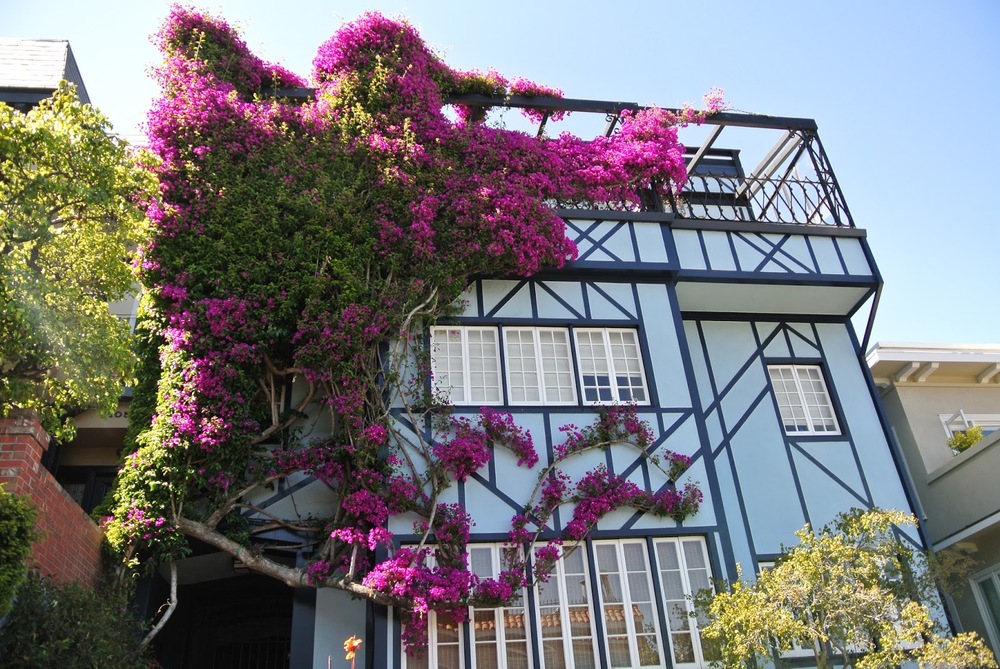 |
| my favorite house on Lombard St. |

As if I hadn't spent enough time gawking at the amazing garages (read: "photo backgrounds") I found at every turn, on our way to Ghiradelli Square, I found the most beautiful ivy wall. I think I've actually seen a picture of this house on tumblr at some point...
Anyway, in this picture, I was standing in front of a 20-foot ivy wall. I was in heaven.
My mom was not. I made her take pictures...the whole day...
Thanks, mom.

Enough about garages. Sorry. Here's a bit about what I'm wearing. I wanted to stay comfortable as always, so I threw on my black t-shirt dress and a vintage Levi's jacket I picked up in Berkeley. I also wore my Toms sunglasses and white converse as usual.
 |
| My sister wanted to be in the pictures. You can tell that our agendas weren't quite the same. |
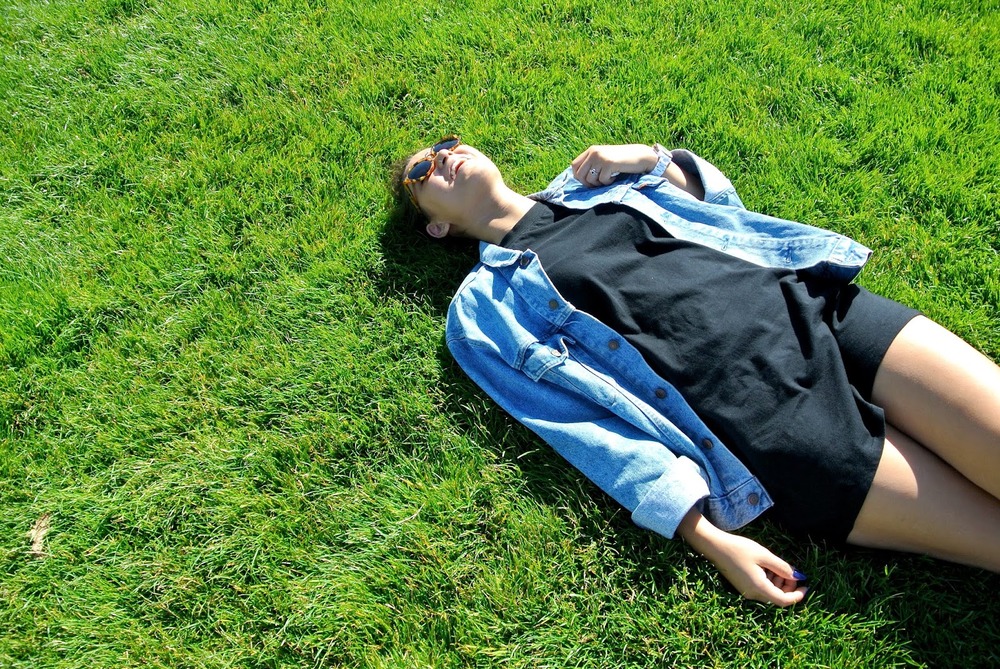
On our way to Ghiradelli Square, we encountered a beautiful park right by the water. Obviously, I became a 5-year-old again and decided to frolic/lay in the grass.

But we eventually made it to Ghiradelli and splurged on desserts despite the fact that it was already 6:30ish by this point. I'm sure eating dessert before dinner every once in a while won't kill you, despite your parents' repeated warnings against doing so since you were a baby.

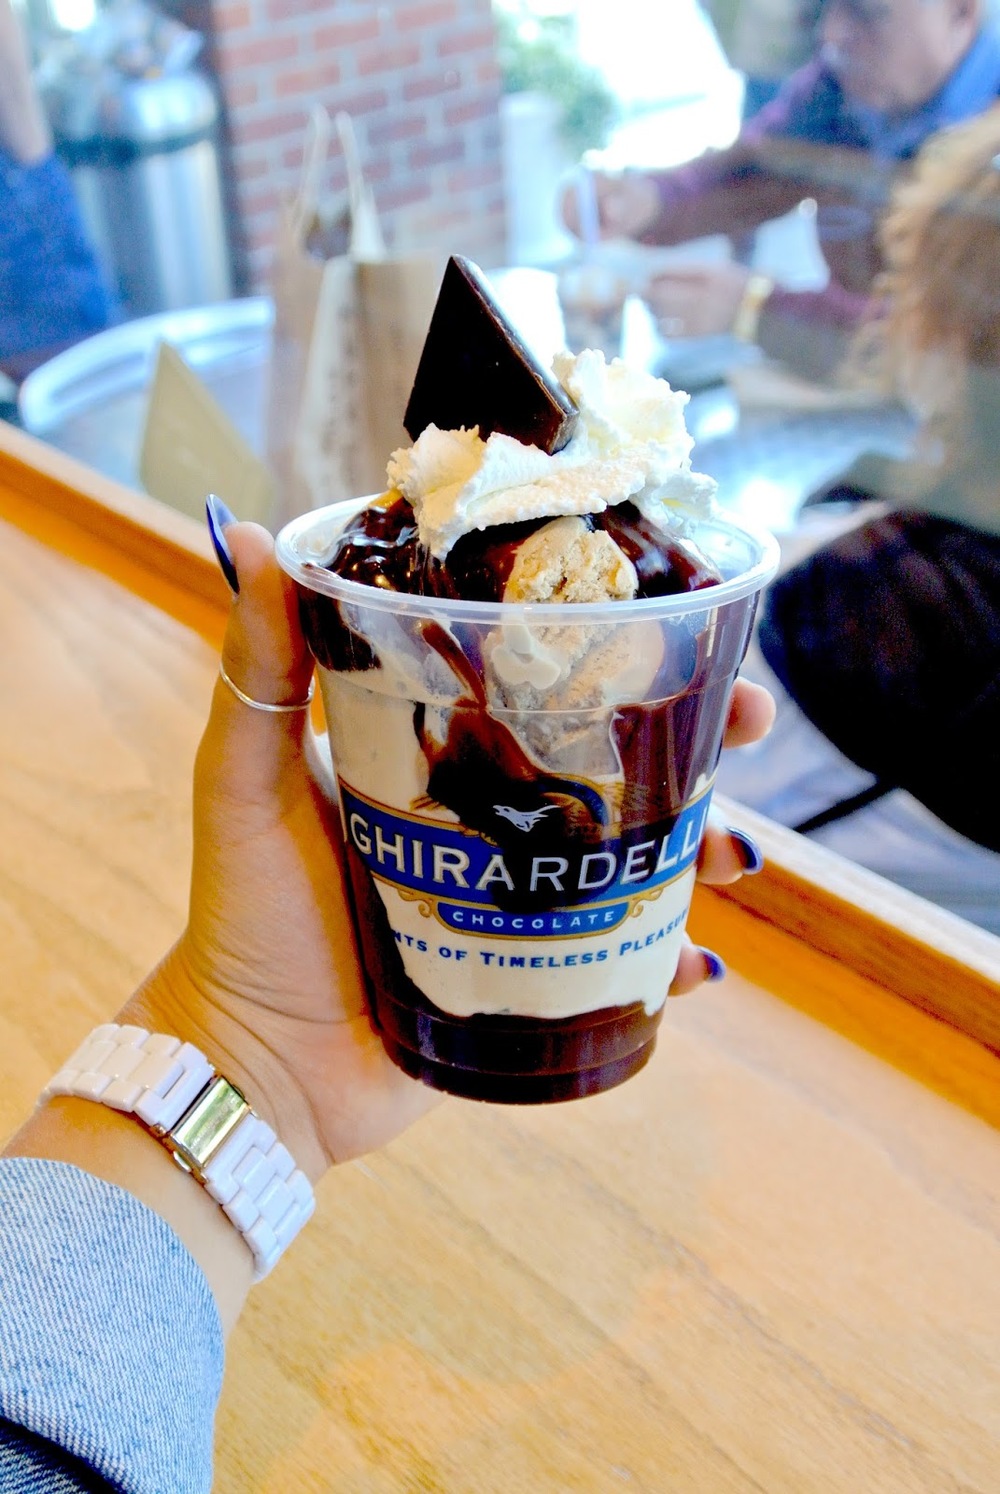 |
| my mom's espresso sundae. heavenly. absolutely heavenly. |
MONOCHROME BLUE


My Nikon J1 came in the mail yesterday! This means my photos will most likely be taken on that camera now, instead of my iPhone, and I'll start filming videos and posting them on my YouTube channel. Exciting stuff.

I wore this outfit the other day when I went to MILK with my friend, Bridgette. Didn't catch that post? Read it HERE! The sun was blazing and it definitely verged on 'hot' at some points, but for the most part, this outfit was perfect for that day's mid 80 degree weather. I've mentioned before that I love black clothing, and that most of my wardrobe is black (75%, I think i said). So it's somewhat ironic that all the outfits I've posted so far have been completely devoid of black clothing items. I'm a fraud.

I don't think I mentioned this in my "MILK" post, but despite our efforts to not spend large amounts of money on clothing that day....
...yup, I made two (ridiculously) expensive purchases. Yay for the closet, nay for my bank account. [You'll find out more about those items in a future post or video :)]

 |
| Ahhhh, confused as always. |
After a light lunch at the Grove, we headed to Beverly Hills to visit the Kitson store on Melrose Ave.

Before walking into the store, I told my friend that I wasn't going to buy anything. At least, that was the goal. You can probably guess that I caved, and ended up buying something. I won't tell you what I got yet, but look at this pillow! I want it for my dorm, so hopefully I can go back to Kitson sometime soon.

 |
| HAHA I wish. |
Enough of this, lets go back to the outfit. I got the top in Japan, so I couldn't find the link for it, but the back is a solid knit whereas the front part is mesh-y and has a floral pattern embroidered on top. I love this top SO much, even though I don't wear it very often. It's very unique and perfect for summer, since the mesh is cool and slightly cheeky, but still completely appropriate with a bralette worn underneath (I wore this one).


I also love these boyfriend jeans. I recently picked them up at Zara, and the wash is just the right color - not too light. I'm not always a huge fan of distressed denim, but I am when it comes to boyfriend jeans. Boyfriend jeans can be tricky to pull off because they do have a boxier fit and can make you look larger. Distressed details can help offset this unfortunate occurrence. My shoes are white converse, the same ones I wore in this post.


My sunnies are from TOMS. I'm kind of obsessed with them. What's great about TOMS products is that for every item you buy, the company gives something back to people in need. For every pair of sunglasses sold, TOMS provides medical services that give eyesight to someone who is visually impaired. So not only do you get a super cute pair of sunglasses, but you're also helping out people who may not be as fortunate as you are!


These are some of my favorite items in my wardrobe right now, so hopefully you guys enjoyed this post! I would love to hear your comments :)

MAY HAUL VIDEO
I did a LOT of shopping in May...
I think it might be related to the fact that I didn't have much else to do, and I hadn't gone shopping practically the entire school year. Plus, I had saved up a bunch of money from babysitting and tutoring, so I decided to treat myself. And treat myself, I did.
M I L K


Remember the list I mentioned in my first post? The one with all the places I want to eat at. Yeah, MILK has been on that list for a solid 6 months, and I can finally proudly say that I am an extremely satisfied customer there!

Known for its gigantic macaron ice cream sandwiches, MILK offers a wide selection of baked goods, gourmet ice cream flavors, coffees and teas, and even lunch entrees. The store itself is pretty small, but really cute. Clear cases allow customers to gawk over the huge selection (which makes choosing just one item nearly impossible).


Unfortunately, I'm allergic to all types of nuts, including the almonds which are characteristically used in macaroon cookies. So I wasn't able to order a macaron ice cream sandwich, but I was just as happy to make my own milkshake! Yes. You can create your own milkshake, complete with two flavors of ice cream and whatever fillings yourheart stomach desires. I ended up getting green tea and mint ice cream, plus chocolate chips. It was heavenly.

My friend Bridgette, who was lovely enough to drive us all around LA to shop at the Grove and get our dessert afterwards, couldn't decide between a watermelon macaron ice cream sandwich and the Shirley Temple float, so she just got both! I don't blame her.

Unfortunately, I'm allergic to all types of nuts, including the almonds which are characteristically used in macaroon cookies. So I wasn't able to order a macaron ice cream sandwich, but I was just as happy to make my own milkshake! Yes. You can create your own milkshake, complete with two flavors of ice cream and whatever fillings your
My friend Bridgette, who was lovely enough to drive us all around LA to shop at the Grove and get our dessert afterwards, couldn't decide between a watermelon macaron ice cream sandwich and the Shirley Temple float, so she just got both! I don't blame her.
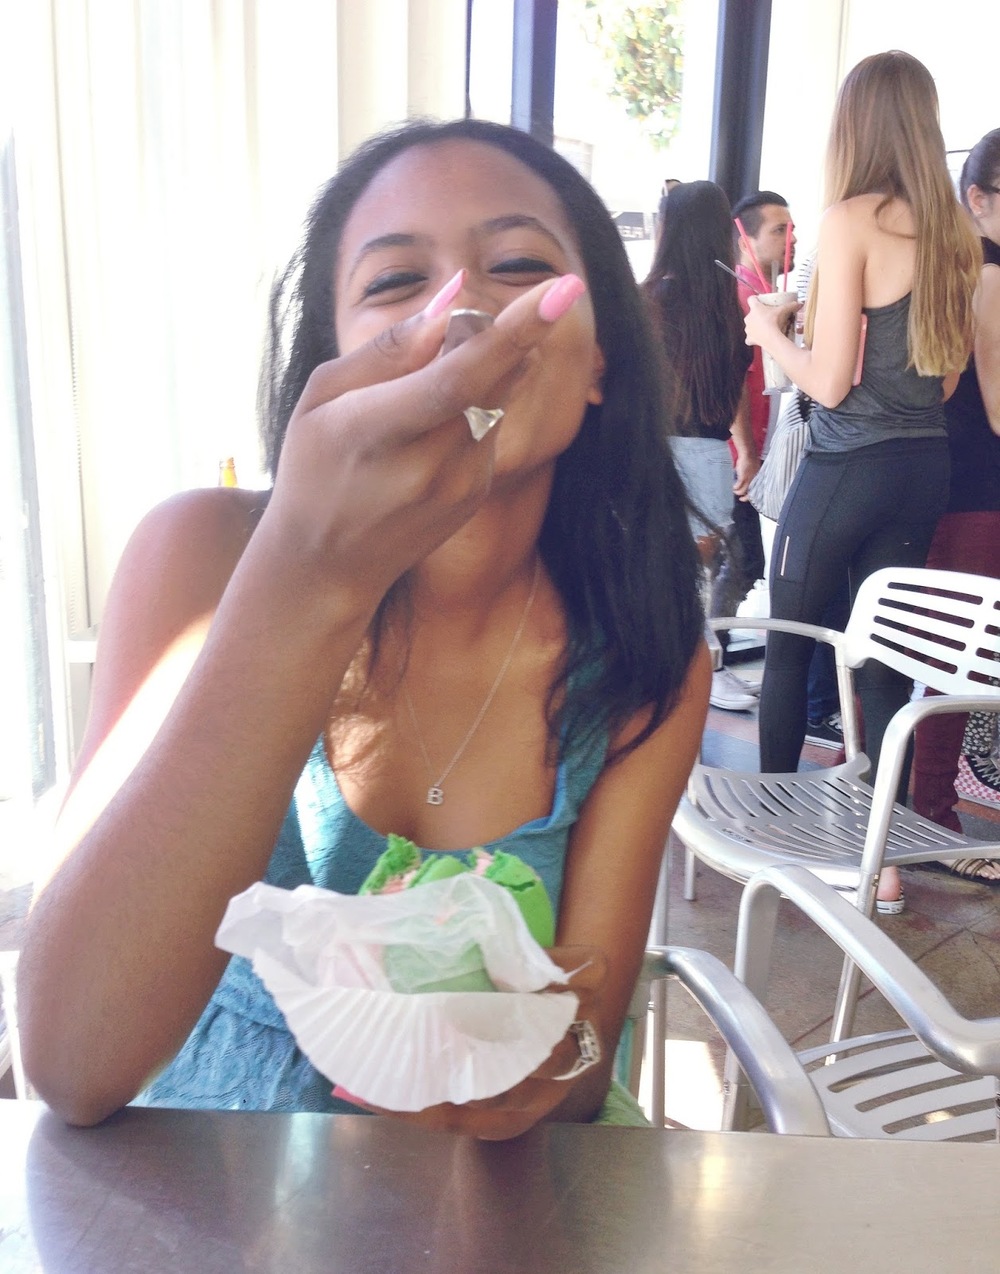 |
| This is happiness. This is why you should go to MILK. |
I left MILK feeling very content and anticipating my return. I "forgot" to ask my family if they wanted me to bring anything back for them. I guess that just means I'll have to go back soon :)


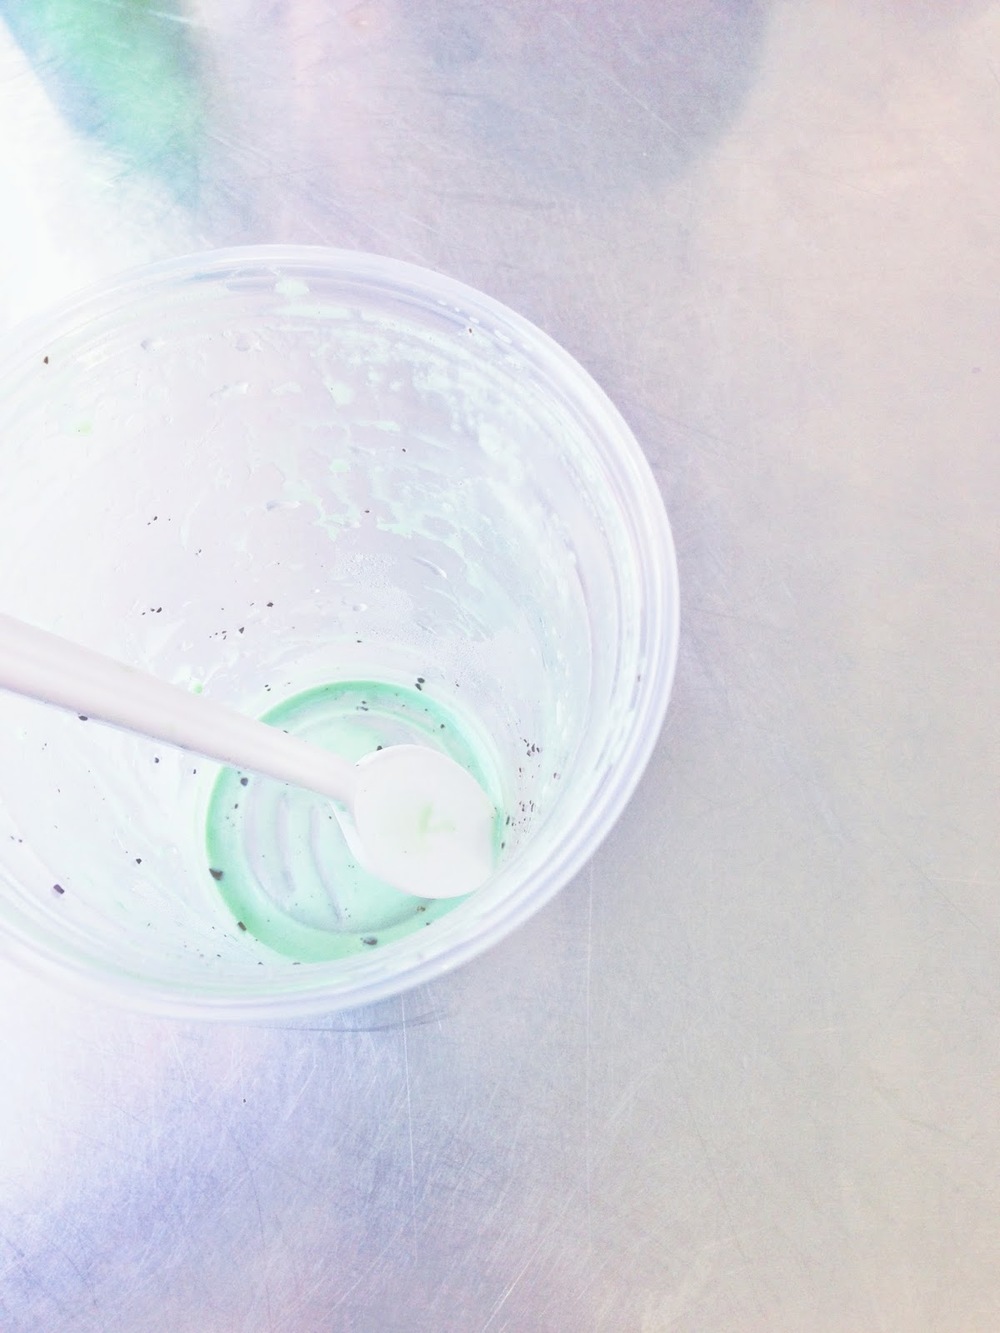 |
| All gone. Sadness :( |
BONUS: a picture that represents LA.
 |
| Yes, that is an elderly man wearing a yamaca driving a scooter on the road. |